When I started configuring polybar for the first time, getting fonts to work properly was a pain. That is why I am listing down the steps here so that it becomes easy for anyone doing it in the future.
Opening the config file
If you had followed the instructions on this page, your config file should be located inside .config folder in your home directory.
~ ➤ vim ~/.config/polybar/config.ini
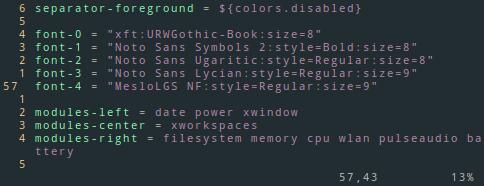
The line that you are looking for is the one below.
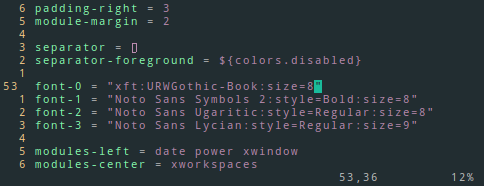
Look for the “font” declarations. Once you have found them, the next step is deciding what to put in between the double quotes.
Searching for fonts
To search for fonts you need an application called “Character Map”. You can install the same with the following if it’s not already installed on your system.
// For Ubuntu, Linux Mint and similar derivatives
~ ➤ sudo apt-get install gucharmap

// For Arch, Manjaro and similar derivatives
~ ➤ sudo pacman -S gucharmap
Once installed, open the Character Map application.
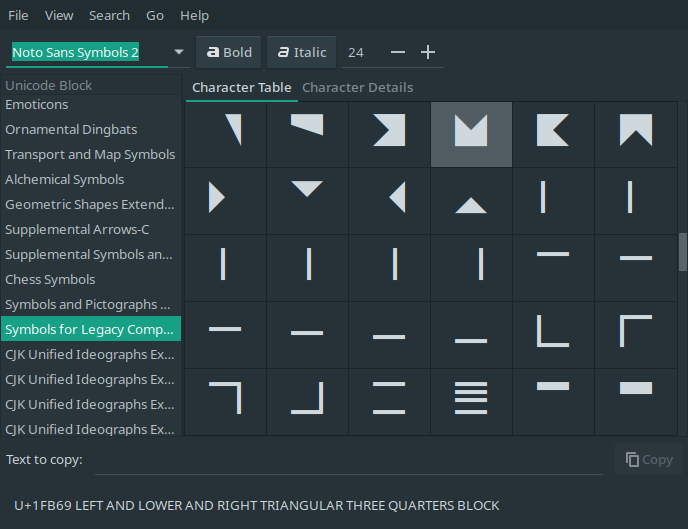
Make sure to select “By Unicode Block” from the View menu so that searching becomes easier.
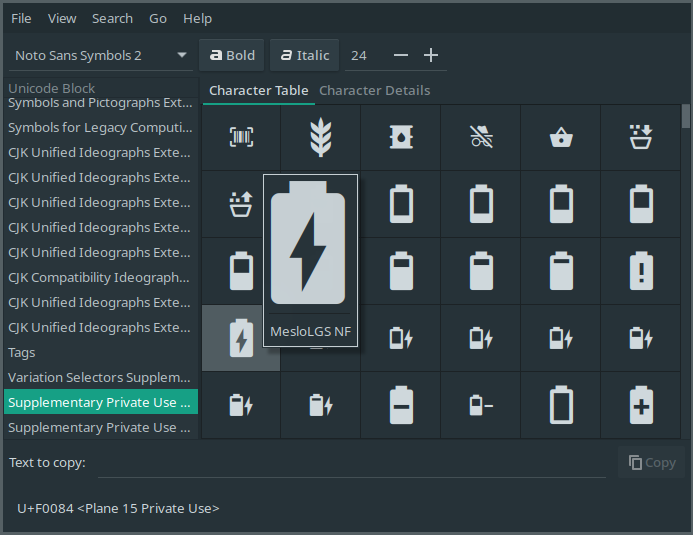
When you have found the icon that you are looking for, right click on the character. It will display the font that it belongs to. In the example here, the font is MesloLGS NF.
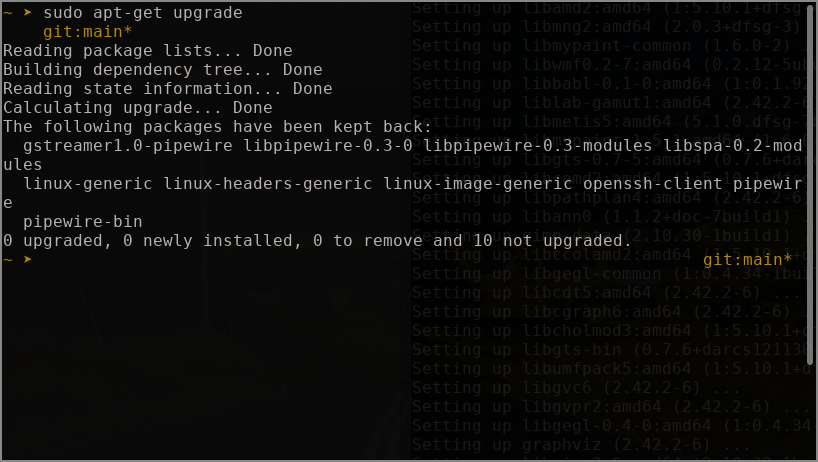
Open up terminal and search for the font in the font list. Just the first few letters of the font name is sufficient to narrow down the font.
~ ➤ fc-list | grep -i "mesl"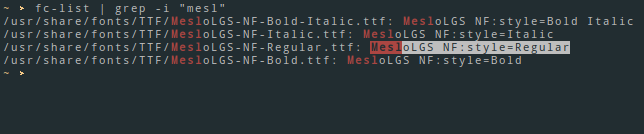
That should output the available fonts matching the search string. You can then add this string to the font list. Optionally, a size parameter for the font can also be specified.
And that’s it. You can use any of the characters from the font now.